 HealthViewer
Getting Started
HealthViewer is a desktop app for macOS and Windows. All your data is stored in an encrypted file on your own device — nothing goes to the cloud.
1. Download and Install
Section titled “1. Download and Install”Go to the HealthViewer homepage and download the version for your platform:
- macOS — Apple Silicon (M1/M2/M3/M4) or Intel, requires macOS 12 or later
- Windows — x64, requires Windows 10 or 11
Open the installer and follow the prompts. The macOS app is signed and notarized by Apple, so it opens normally.
On Windows, SmartScreen may show Windows protected your PC the first time you run the installer, because it isn’t code-signed yet. Click More info, then Run anyway. See Why does Windows warn me when I install HealthViewer?
2. Create a Profile
Section titled “2. Create a Profile”HealthViewer keeps each person’s data in their own encrypted profile, a .hvdb file on your device. Most people start with one profile for themselves.
Create a profile (first time)
- On the unlock screen, click Add a profile
- Choose where to save your
.hvdbfile. Your Documents folder is a good default - Give it an optional name (e.g. “Me” or “Mom”)
- Enter a password (8 characters minimum) and confirm it
- Click Create profile
Open an existing profile
- Pick it from the Profiles list on the unlock screen, or click the folder button to choose its
.hvdbfile - Enter its password and click Unlock
To move to another profile later, click Switch profile at the bottom of the sidebar. See tracking a family member for how profiles work when you look after someone else.
3. Import Your First Lab Results
Section titled “3. Import Your First Lab Results”Once unlocked, you’ll land on the Dashboard. To add data:
- Click Import in the left sidebar
- Choose Upload a File
- Drag and drop a PDF lab report (from Quest, LabCorp, Mayo, or your patient portal) or a CSV file
- HealthViewer will parse the file and show a preview table
- Review the extracted results — you can edit any cell before saving
- Click Save Results
That’s it. Your results appear in the Results view and are immediately included in Trends.
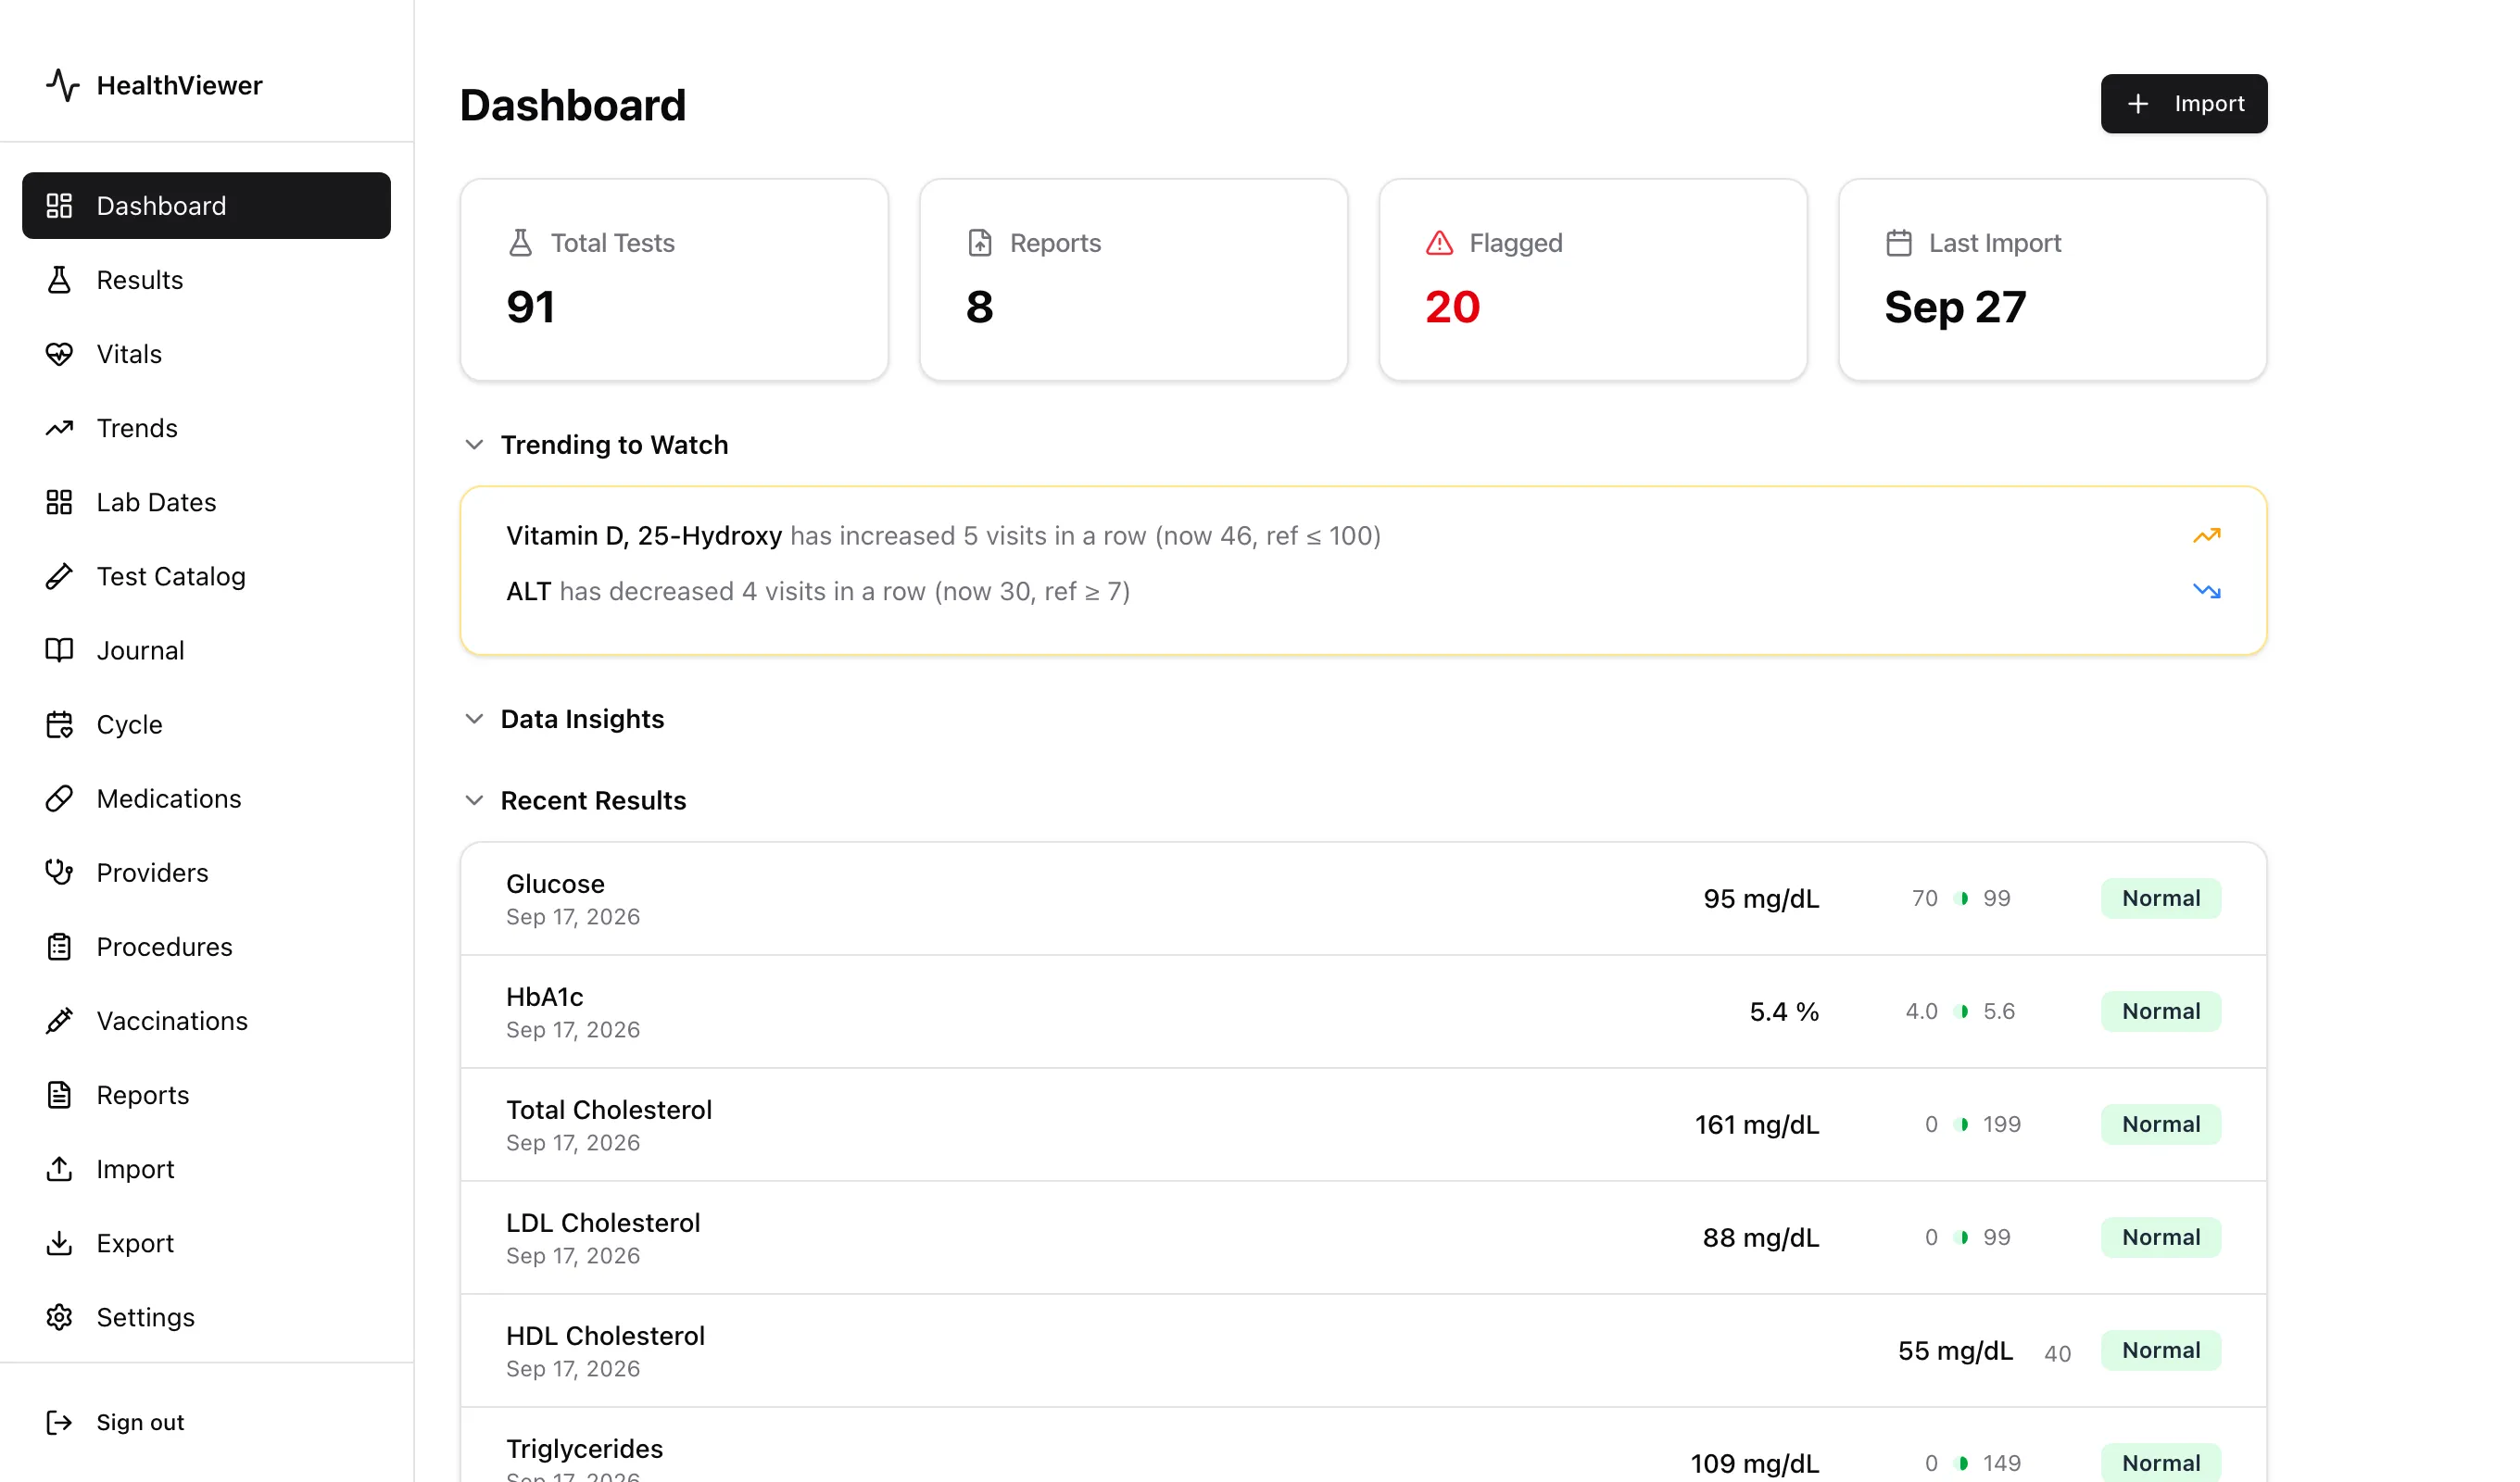
The Dashboard summarizes everything you have imported: total tests, reports, flagged results, and tests that have moved in the same direction several visits in a row.
4. Find Anything
Section titled “4. Find Anything”Press ⌘K on macOS or Ctrl+K on Windows, or click the search box at the top of the sidebar, to open the command palette. Type to jump to a page, run an action, or open a test’s trend.
The palette also searches your records: journal entries, procedures, medications, providers, vaccinations, and imported reports, including the text of the report. Pick a record to open it. Picking a report opens Results for that report’s dates.
Next Steps
Section titled “Next Steps”- Settings & AI Configuration — set up an AI provider to unlock appointment summaries and smarter PDF parsing
- Supported PDF Formats — see which lab systems parse automatically
- Connect MyChart / FHIR — import directly from your patient portal
- Apple Health & Devices — add heart rate, sleep, steps, CGM, and scale data